If you have any questions, you can E-Mail me and I will be happy to answer them as best I can.
As with all DIY's, read and understand ALL directions before starting the install.
I did this and IMO I thinnk it looks better then the actual reverse indiglos.
Also saves from having to risk removing the needles and breaking them to install the aftermarket faces.
*NOTE* Done on a 4th gen Accord. Other results my vary.
If you don't know how, then don't even attempt this DIY.
| Things you need: Gauge cluster 6" black light neon (or color of your choice) Wire cutters and stripers Screwdriver Black spray paint (optional) Blue 194 bulbs (or color of your choice) Transparent glass paint from local craft store (only if you are not useing blue bulbs) Patience |
|
| Remove the #194 bulbs from the back of the cluster. and replace the bulb with the new blue bulb (or color of your choice) You will notice that one of the bulb sockets has a set of wires running from it to the top of the cluster. | 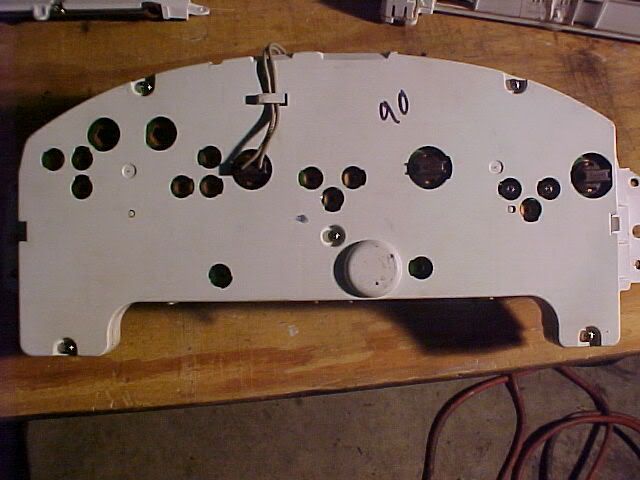 |
| You will need to remove the white panel from the top. Simply remove the 2 screws from the sides and it will pop right off. | 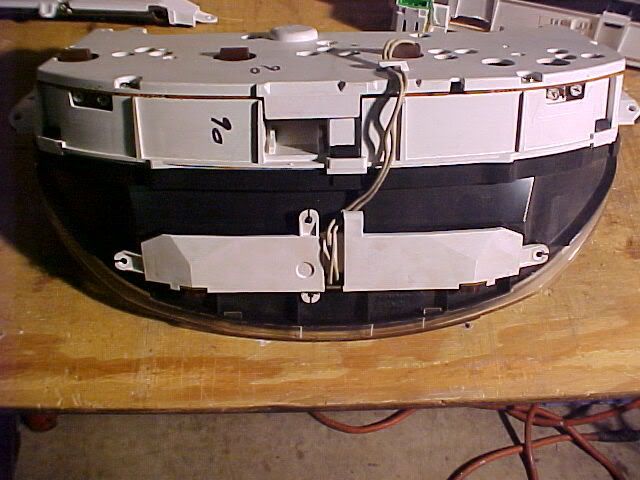 |
| Cut the wires from the white panel and splice them to the wires for the neon power pack. You do nto need to worry about which wire goes where. it will work eaither way. Then tuck the power pack away. | 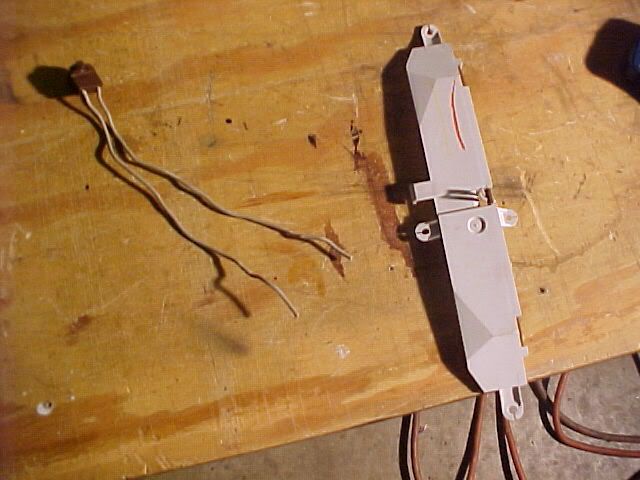 |
| Then seperate the parts from the panel. There is the blue lens, the circut board for the bulbs and the panel itself. All you need to keep is the white panel. Cut the little tips off the inside of the panel. | 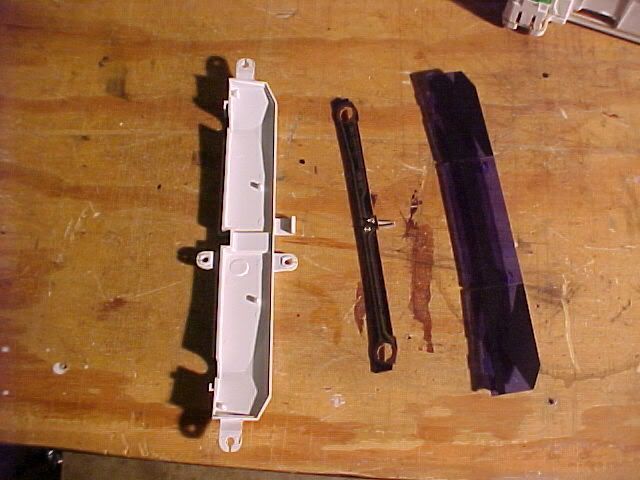 |
Replace the bulbs making sure to put a new bilb in the socket with the wires and put everything back together.
Now when you turn on your lights, the neon should light up too, making your needles "glow"
Now if you are not using blue bulbs, you will have to change the color of all the other bulbs in the cluster. There are 2 #74 bulbs for the fuel/temp guage and there are 2 little bulbs on the MAIN circut board that need to be painted. This is not hard, just time consuming.
| Go to your local craft store (or Wal-Mart) and pick up some transparent glass stain. | 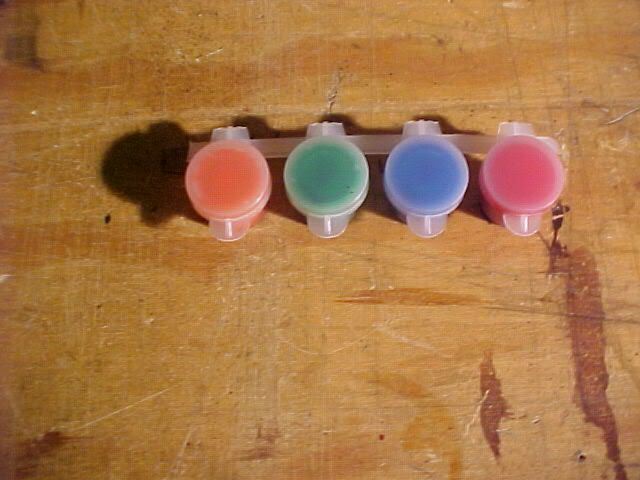 |
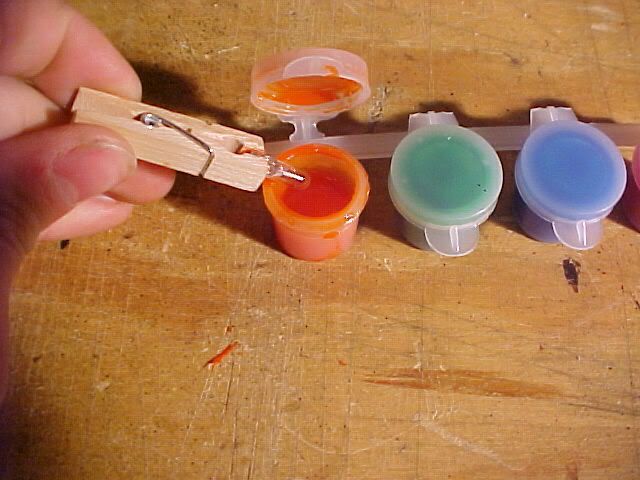
| I used a clothes pin that I had grind the tip down on to hold the bulbs so that I could dip them into the stain. Dip the bulb into the pain and let dry, then repeat once more for natural color. NOTE: The more you dip the bulb, the darker the light output. |
 |
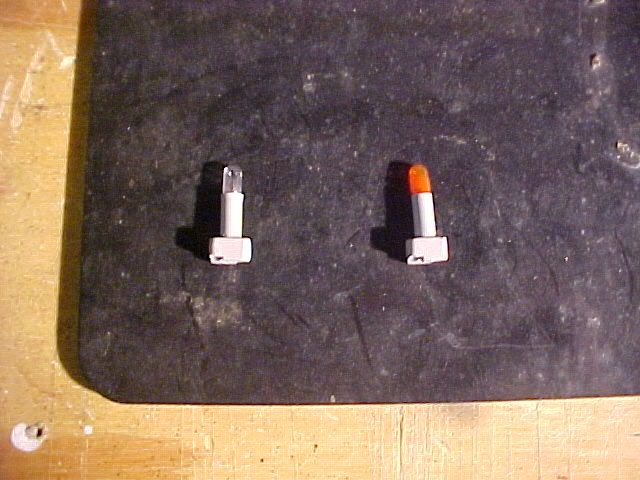
| You will need to do this to the 2 #74 bulbs behind the fuel/temp gauge and there is a little bulb that is ON the INSIDE of the MAIN circuit board that look like this>>>
You ONLY need the one that has the blue tip. Remove the blue tip and paint bulb. DO NOT PULL THE BULB FROM THE RUBBER "SOCKET" Simply dip the tip of the bulb into the paint. |
 |
ENJOY!!