List of materials needed:
LED (Radio Shack #276-271A)
(They also have a pre wired LED, just ask for that.
It's much easier then having to soder and fuss with the LED and resistors)
10' of wire (preferably black and red)
Wire splicers and connectors
Electrical tape
Super glue (depends on installation)
Post-it note flags (See step 7) (I didnt do this. I think it looks better my way) |
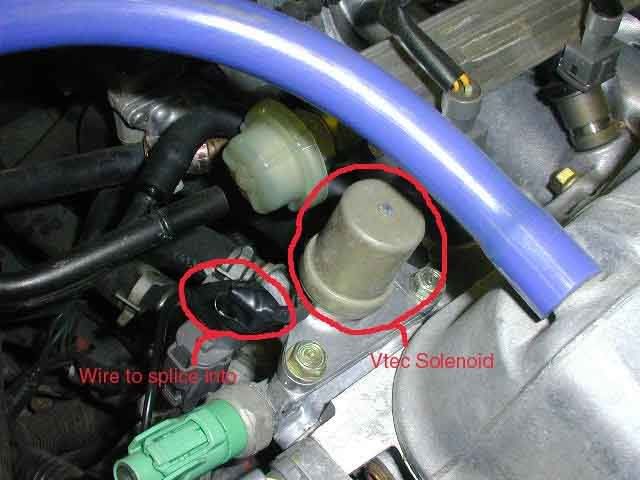 |
1. First, locate the VTEC solenoid under your hood. Look for the wire that connects to it. There is a cover over the wire that you will have to peel off to get to. The picture belows shows mine, but it's all taped up because the picture was taken after the install was done.
(NOTE: I ran my wires under the dash to the ECU and spliced them into the solenoid wires there. It will be a Green/Yellow wire.
See PIN Diagram for help.) |
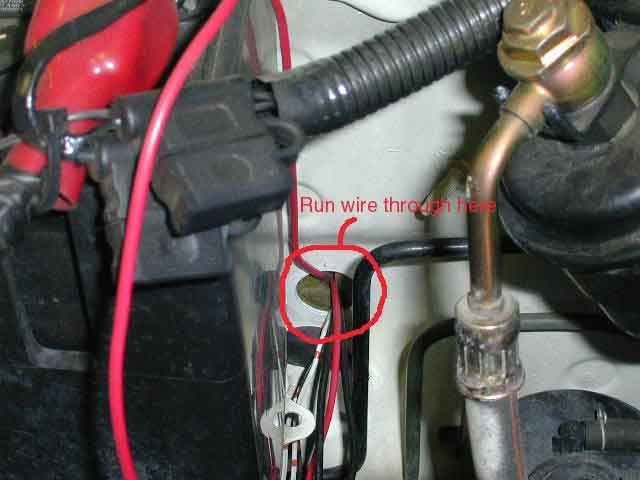
| 2. Tap into the wire and use zip ties to hold it in place against existing wires under the hood. Just make sure its not touching anything that gets hot. Run the wire through the firewall with an unbent hanger. The wire must reach the dash, so cut off the correct amount. This wire will connect to the positive wire on the LED. |
 |
| 3. At this point, I recommend testing the light out before continuing with the install. Connect the wire you tapped into in step 2 (Or at the ECU) to the positive on the LED. Then connect the LED negative wire to a ground (if you don't know where a ground is, just connect a wire to the negative on the battery, run through the firewall, and connect to the negative wire on the LED. (THIS IS ONLY TEMP FOR TESTING THE LIGHT. DO NOT LEAVE IT RUN LIKE THIS FOR FINAL INSTALL). Put the LED someplace where you can see it temporarily, i.e. the passenger seat. |
|
4. Let you car warm up. (VTEC does not engage when the car is cold!) Then take your car out for a drive. Punch it! Let the rpms run up to at least 4500-5500 rpm (if H22 motor, 2300-2500 for F22B1), the LED should light up. If it lights up then great, you can move on to step 5. If the LED does NOT light up, then check your connections, and make sure you have a good ground. (Also note that the car must be moving for VTEC to engage, meaning you can't sit in your driveway and rev it to 5500 and expect the LED to light up. You must be actually driving your car.) |
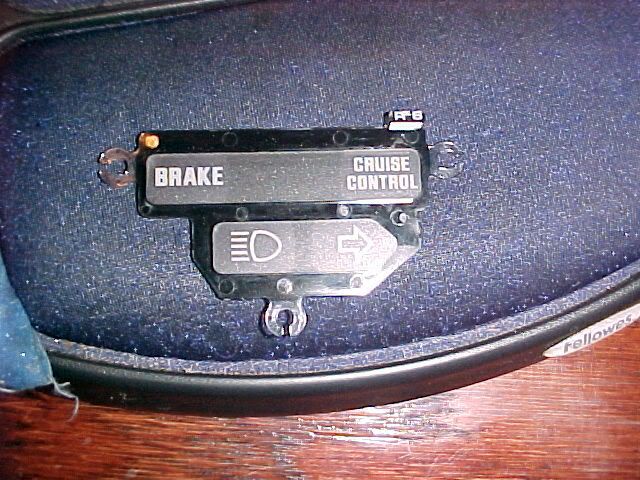
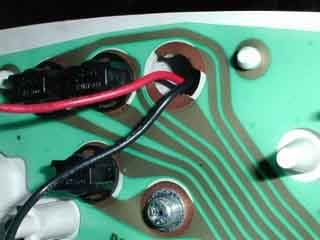
| 5. If the light came on then cool. You can put the LED anywhere you want. I chose to put it in an unused spot in my gauge panel (next to where the oil, and battery light is.)
(NOTE: I did not use the Post-It note idea) |
|
|
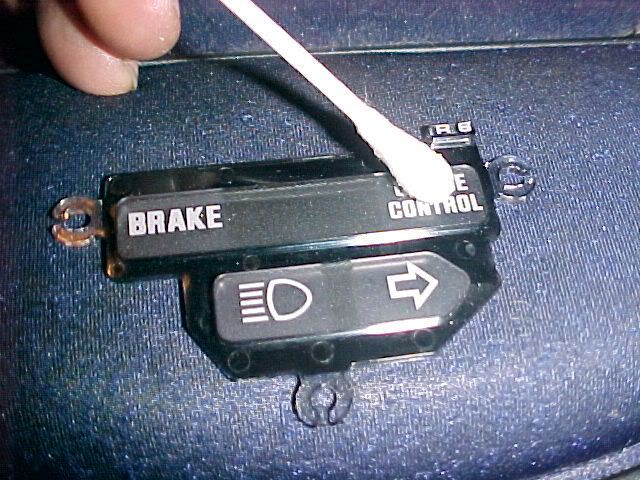
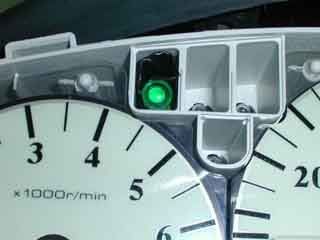
6. In the below picture, the LED is not on. The one thing I could not find out how to do was to make it look "blacked" out like the rest of the lights on the dash. But the LED shines bright enough that you can see it during the day.
(SEE "MY WAY" BELOW)
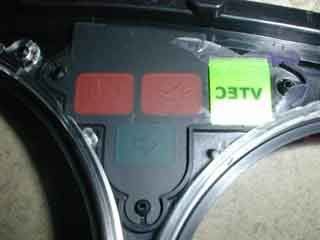  |
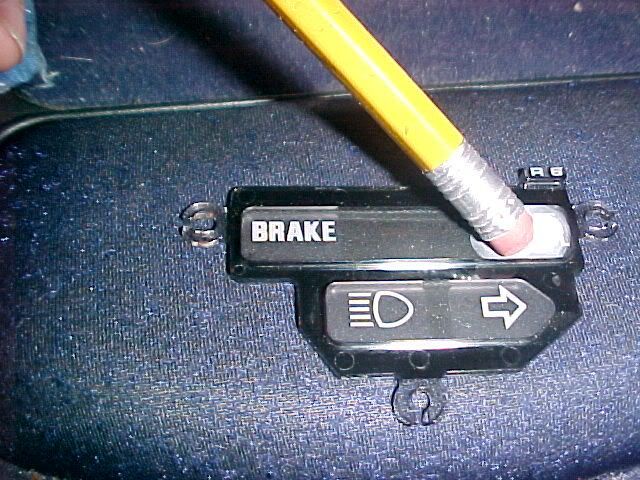
| 7. The "VTEC" in the above picture was made using an inkjet printer and those Post it note flags. You can get them at any office supply store. They are used as page markers in books etc. The come in different colors, but I used green since the LED was green also. Plus, red is usually used for a warning light color. Use a word processor on your computer and type "VTEC" spaced out about three times down the page, in 10 point font of your choice. Print it out on paper. Then use the colored part of the flag to cover the words. Then print out again. I used four flags on top of each other for the final product. |